


Melting Cactus Embroidered Iron-on Patch
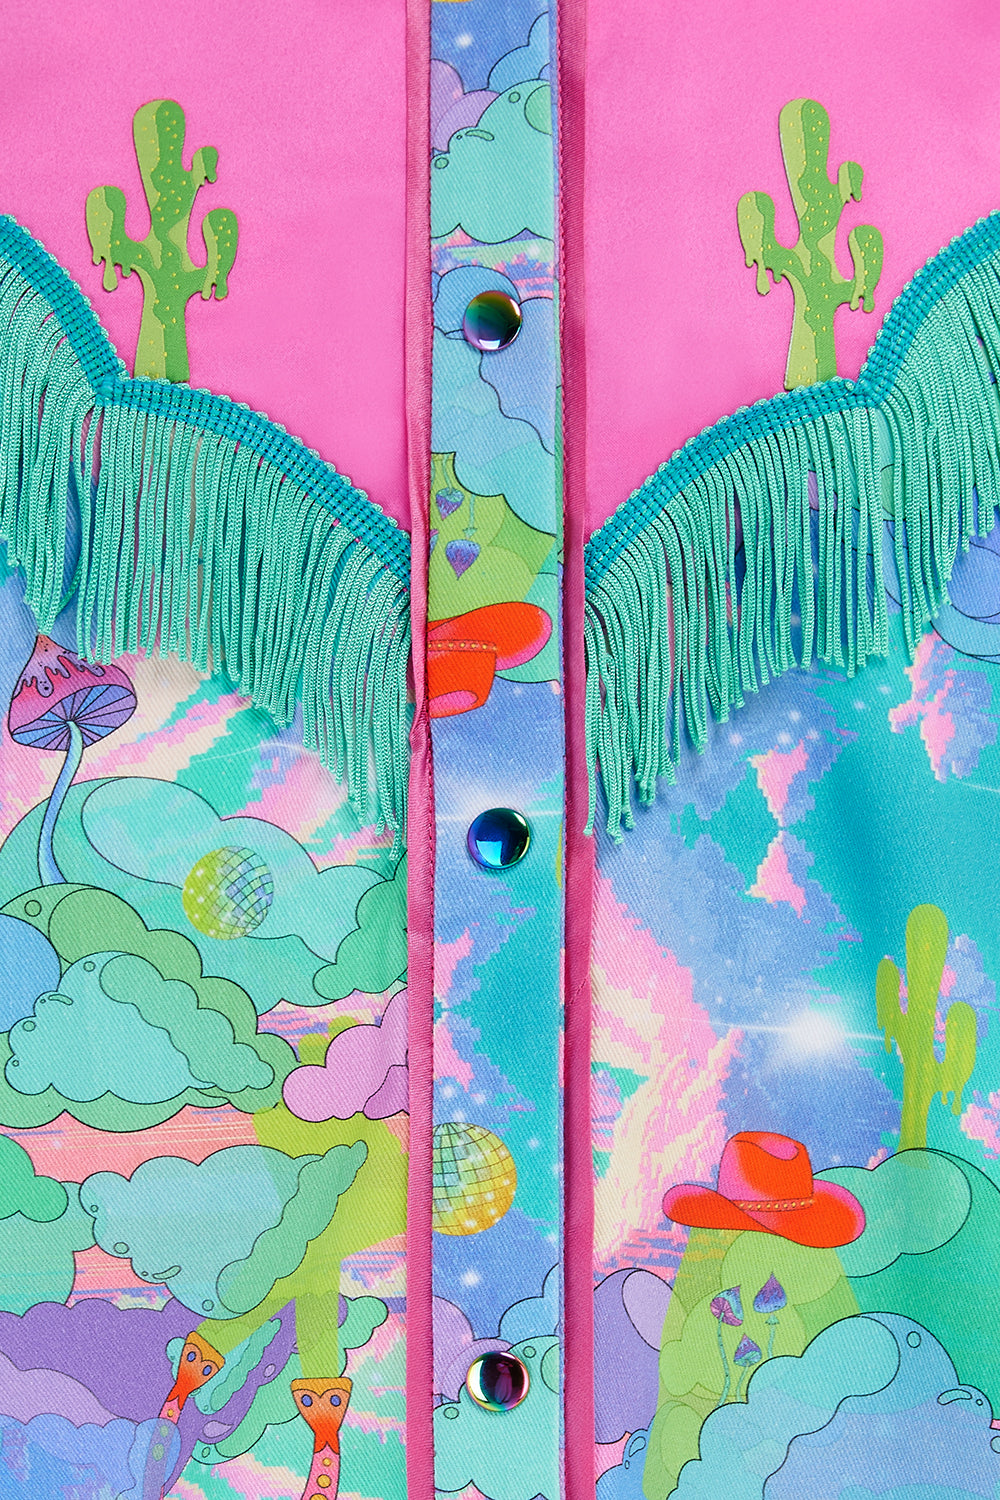
Buckle up for our Intergalactic Rodeo collection: iridescent tones ride alongside our new rodeo inspired pieces, including chaps, diamante lined neckerchiefs and fan holsters amongst the new additions. There is more decorative fringe than you can shake your spurs at, and an array of quite literally - star studded pieces - to beam you up to the cosmos!
NEW: you can now buy individual our custom melting cactus patch!
Need to look Rodeo in a rush or on a budget? Our iron-on patches give instant yee-haw energy to clothes and accessories! As featured on our new Rodeo Denim pieces, these cute little melting cacti look great on denim, bright colours, black & white, and also make the perfect gift.
- Embroidered badge patch design with sealed edges
- Iron-on backing - choose where you want to put it!
- 7cm in height and 3cm at its widest point
Instructions
Step 1: Prepare Your Item
Before applying the patch, ensure the item you are patching is clean and wrinkles-free. If you are restoring a piece of clothing, washing and drying it beforehand is best. This will ensure that the patch adheres properly and stays in place.
Step 2: Heat Your Iron
Plug in your iron and set it to the highest heat setting. Turn off the steam function, which can interfere with the patch application process.
Step 3: Position the Patch
Place the item you are patching on the ironing board or a towel. Then, position the patch on the object in the desired location. Use pins or tape to hold the patch in place if needed.
Step 4: Protect Your Patch
To protect your patch from direct heat, place a thin cloth or parchment paper over it. This will prevent the patch from melting or getting damaged during the ironing process.
Step 5: Apply Heat
Press the iron firmly over the patch and hold it in place for 10-15 seconds. Make sure to apply pressure evenly over the entire patch. This will activate the adhesive on the back of the patch and help it adhere to the item.
Step 6: Check the Adhesion
After applying heat, carefully lift the corner of the patch to check if it is sticking to the item. If it is not fully adhered to, repeat step 5 until it is securely in place.
Step 7: Let it Cool
Once the patch is fully adhered, let it cool for a few minutes. This will allow the adhesive to set and ensure the patch stays in place.
Step 8: Test the Adhesion
After the patch has cooled, gently pull on it to test the adhesion. If it comes off easily, repeat steps 5-7 until securely in place.
